From Nothing to Something
How to go from having nothing, to getting your tools set up and having your character rigged and looking nice in Blender.
In this section, we assume that you have NOTHING but a computer, internet, and motivation. We will go from having nothing to instead having the correct programs, the correct tools installed on them, and having a character in Blender, rigged and ready for you to animate.
Sounds good? Well then, let’s get start with downloading what you need:
FINAL FANTASY XIV
A bit of a no-brainer to start. Make sure that you have the game installed and that you are able to log-in! Have your username and password ready to enter into another log-in tool!
XIVLAUNCHER
An alternate FFXIV launcher that is used to set up your in-game tools! It also helps you with logging in way faster too!
Go to this website and follow the instructions for installation: XIVLauncher Installation Guide
BLENDER
Blender is a free 3D software that we use for FFXIV animations! It is built as a sort of “jack-of-all-trades”. 3D animation is not just about the “animation”, you may consider changing textures, making effects, compositing, tweaking character models and more! Blender CAN do it all very competently, however there may be far better choices for specific things!
Download the latest version of Blender here: Blender Download
Alternatively you could use Blender Launcher for an easier way to manage and update multiple Blender versions
Checkpoint
Once you get to this point, open up FF14 using the XIVLauncher and open Blender just to see if it works! In-game, you should see Dalamud installed at the top left of the title screen.
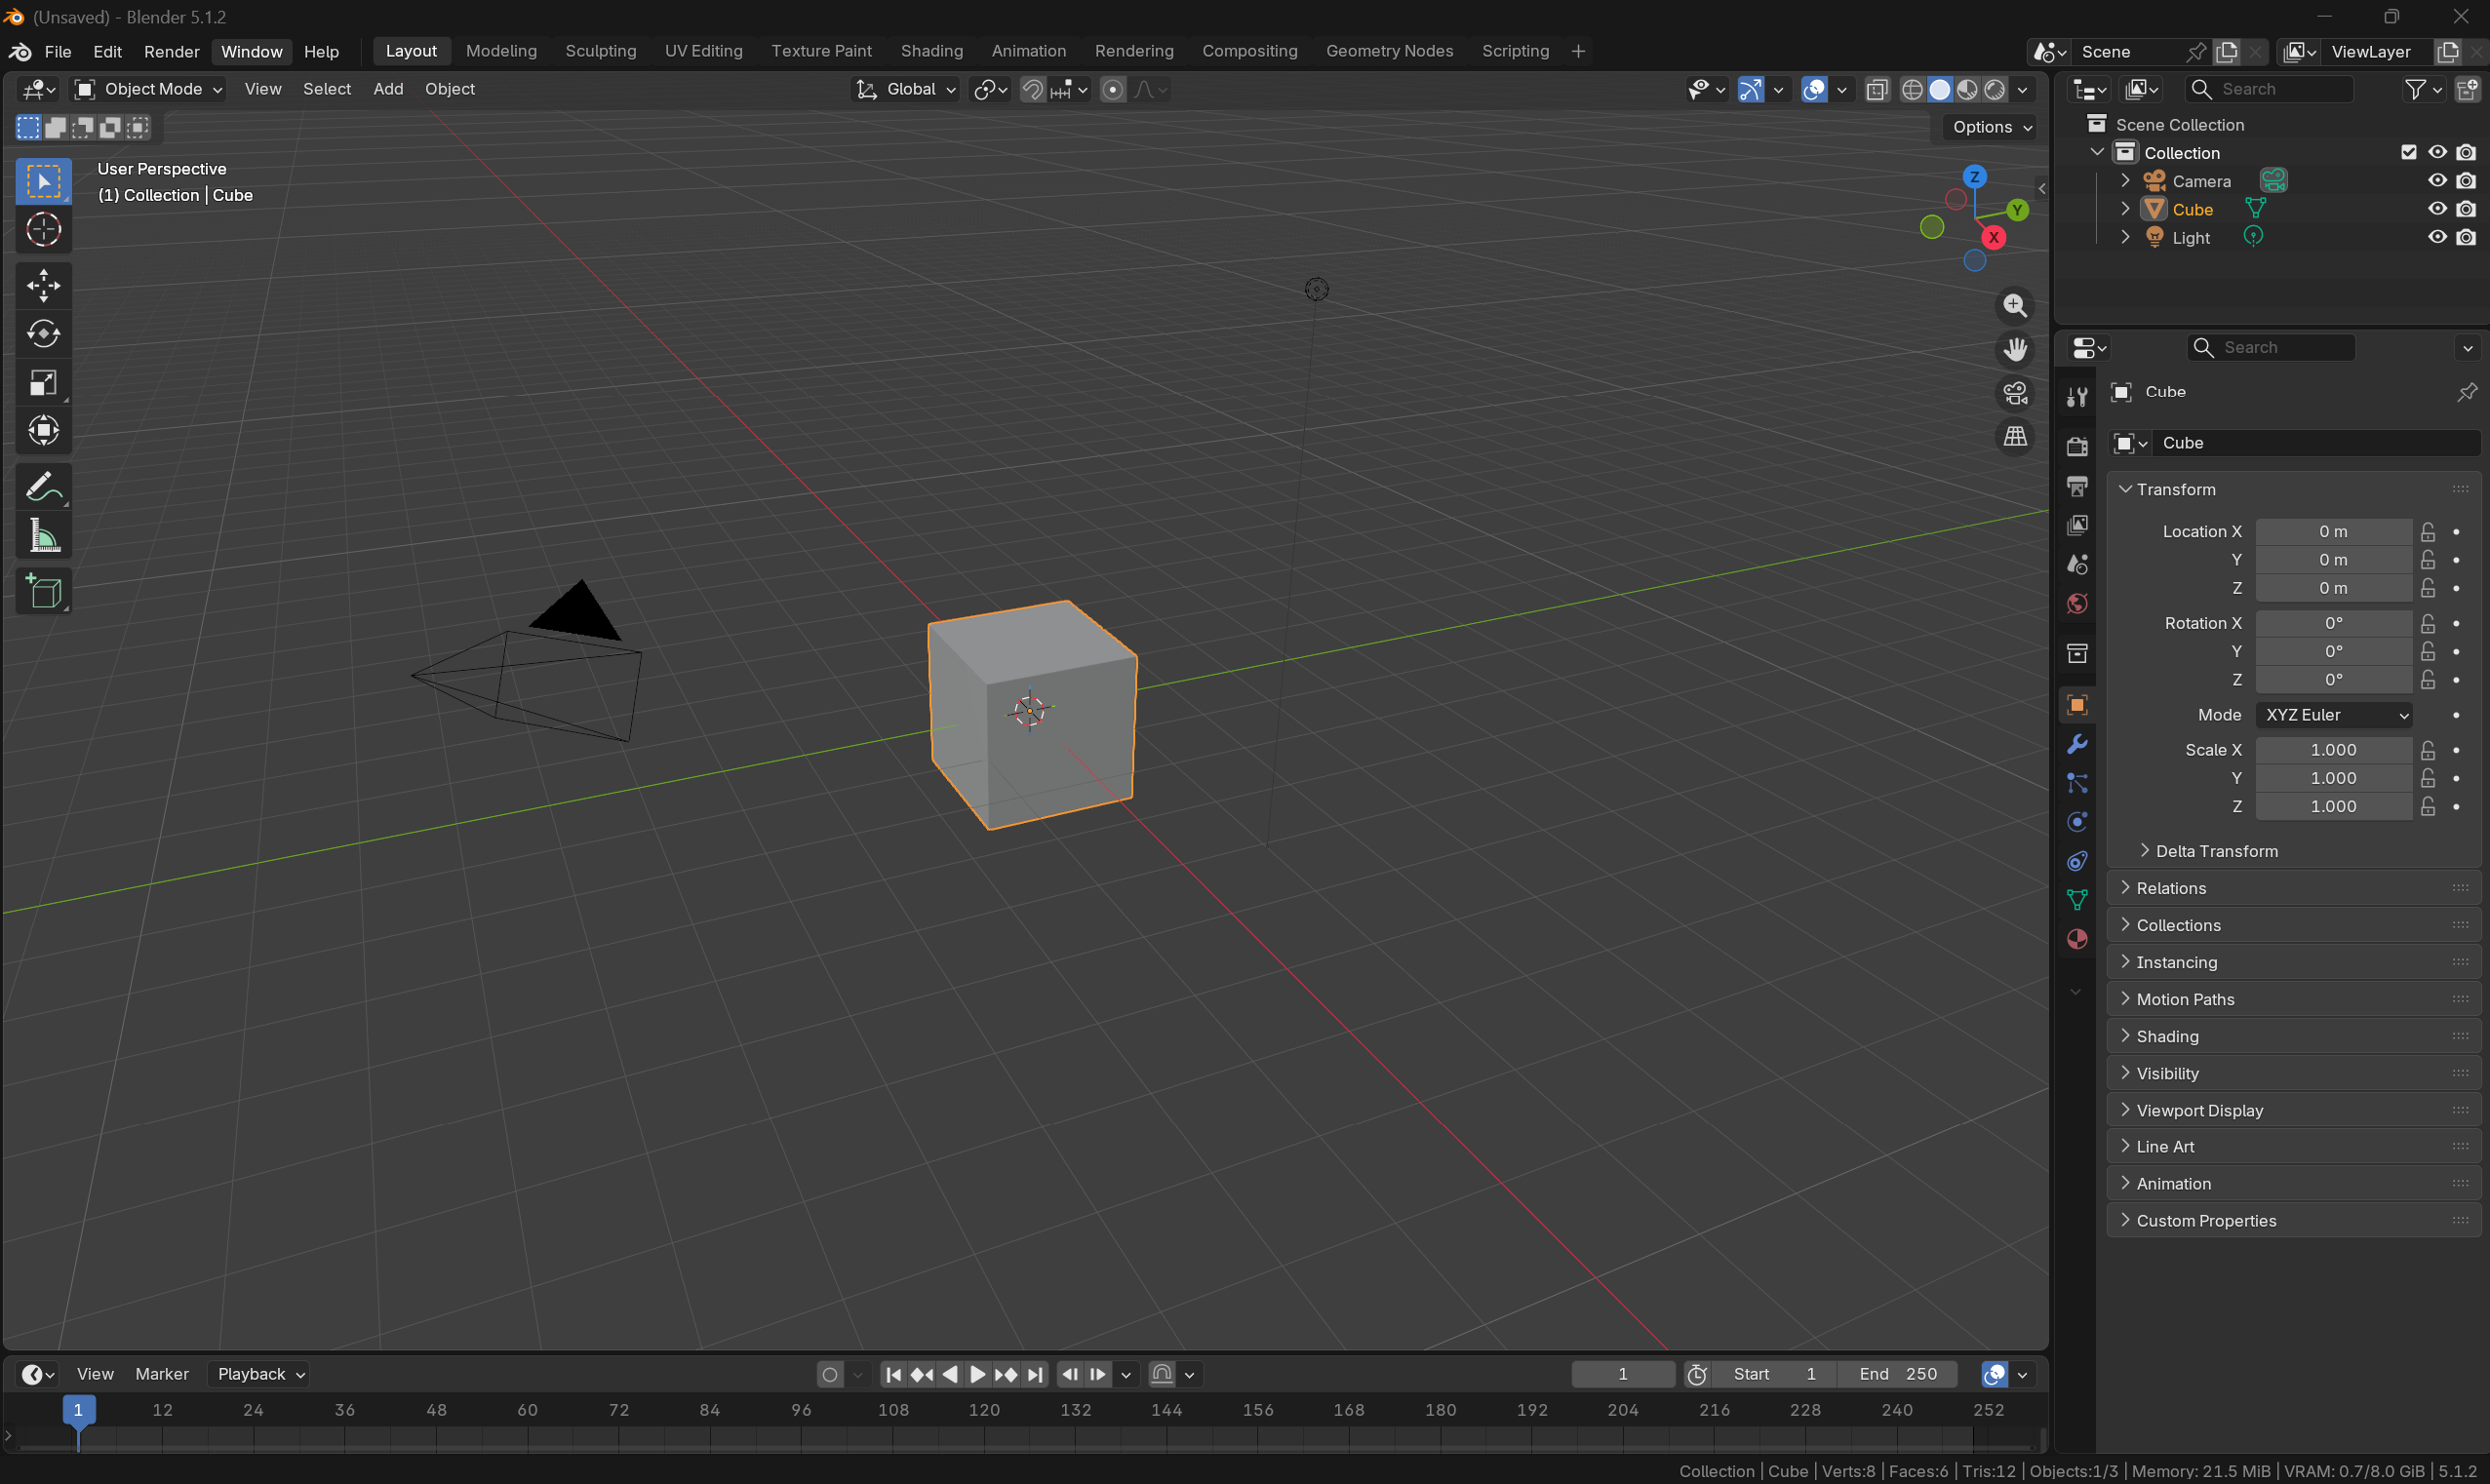
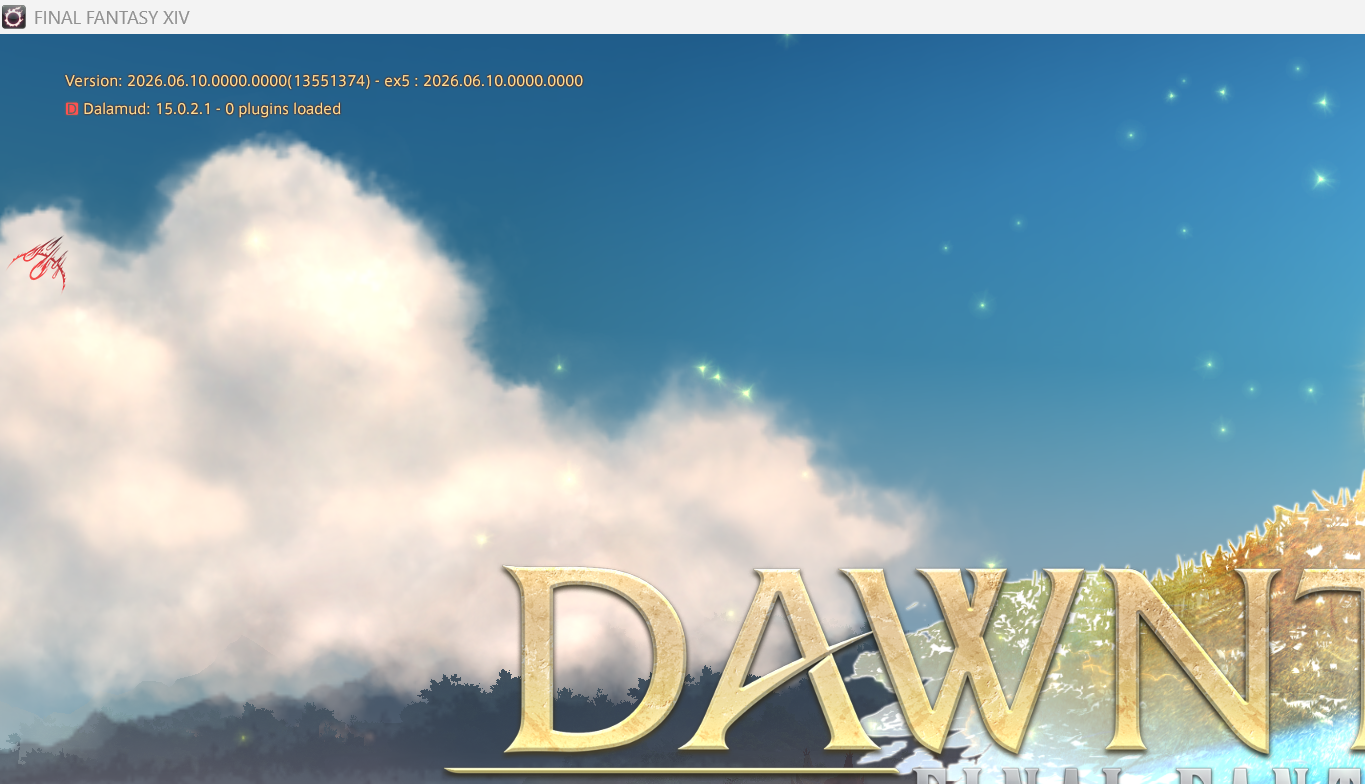
Once you have confirmed that both are downloaded and working, let’s move on!
MEDDLE
Meddle is the ONE in-game tool you need to get your character, weapons, items and environments from the game! It doesn’t change gameplay or appearance of characters, all it does is copy the model it sees in the game, and extracts them into a format you can import into Blender!
You install Meddle through Dalamud, which appears when you start the game via the XIVLauncher!
Follow the instructions here to install Meddle! Meddle Website and Installation Guide
Once you have the plug-in enabled in your game. You can go ahead and open it up! You should see a menu like so:
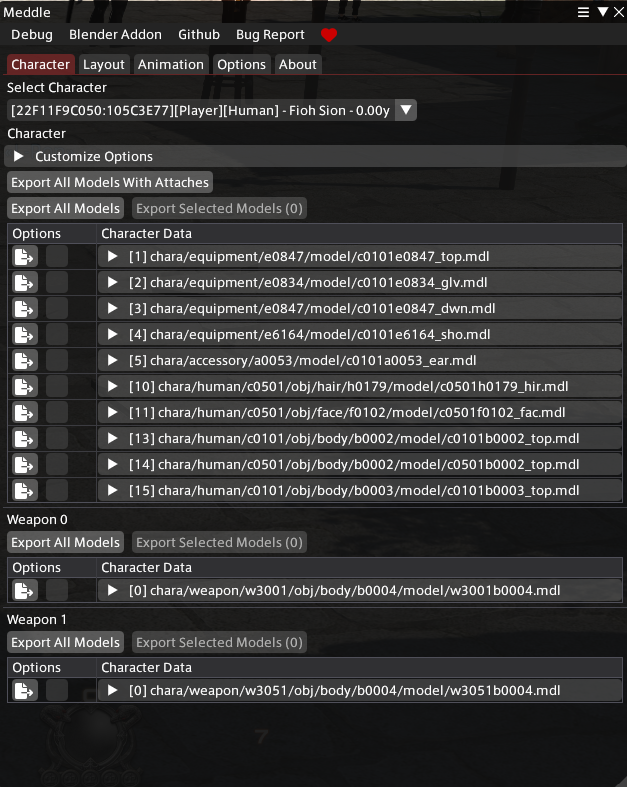
Ensure your character (or another character if you wish!) is selected in the dropdown menu, and hit Export All Models. Ensure that you also export the additional .mtrl files, just so you have them! They will be used for an optional add-on later to make your equipment look better!
Export it to a location you can find easily!
Weapons are exported separately, below the character section, unless you click Export All Models With Attaches.
If you need more in-depth instructions on how to export from Meddle, check out the tutorial page about that.
A lot of the required Blender add-ons you’ll read about below can be installed via the FFXIV Blender Plugins Master Repository. It’s recommended to use this method rather than individual installs, simply because it’s easier. In the end, all that matters is that you install them, not how you install them.
If Blender was RECENTLY updated, then the tools we use may need to be updated in order to work! If you suspect to have these issues, please contact the respective creators and they’ll give you a status update.
AETHERBLEND
AetherBlend is a BLENDER add-on that you will use to import the files you exported from the game via Meddle!
Open Blender and follow instructions here to install AetherBlend: AetherBlend Installation Guide
It is mentioned in the instructions, but ensure that Rigify (an add-on that is INCLUDED in Blender) is also enabled for AetherBlend to work!
MEDDLE TOOLS
Meddle Tools is the BLENDER add-on that you will use to import things OTHER than characters! Monsters, Environment, Items etc. But even if you plan on only importing characters, AetherBlend requires Meddle Tools to be installed.
Open Blender and follow instructions here to install Meddle Tools: Meddle Tools Installation Guide
Final Push
Now you have all you need to get started with importing your character! But how does it all work?
In Blender, create a new project. Delete the default cube by selecting it with left click and pressing “X”.
With your cursor hovering over the 3D Viewport (the main work window), hit the “N” Key to open up the menu to the right!
You should see a menu like so. Navigate to the “AetherBlend” menu as shown here. Select Import Character and select the .gltf file you just exported from the game!
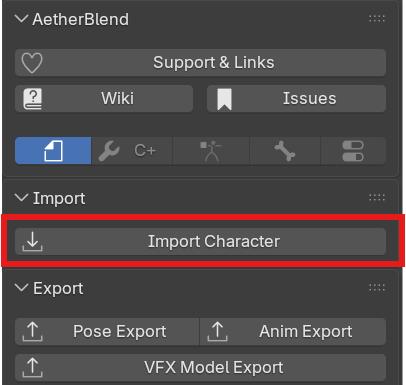
Now you should see your character in-scene, with all the fundamental bones there, already selected in orange!
With the bones selected: click Generate Rig in the AetherBlend Menu.
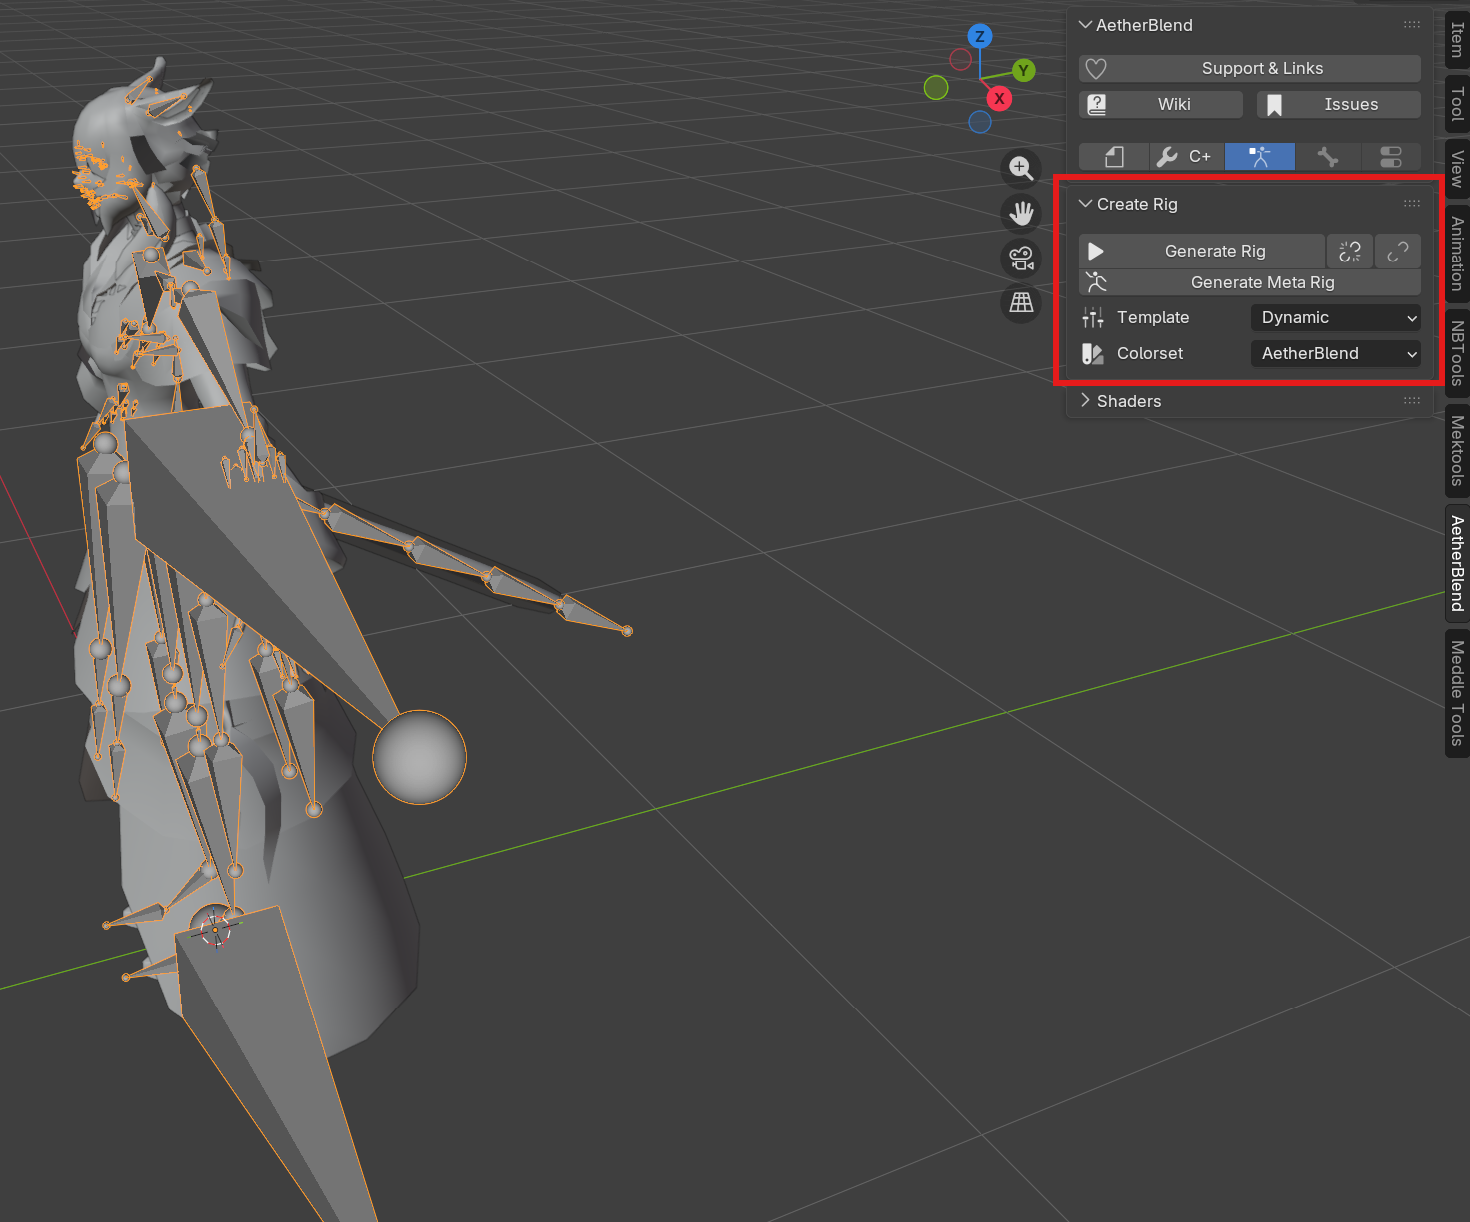
This will create the actual rig you will use for posing!
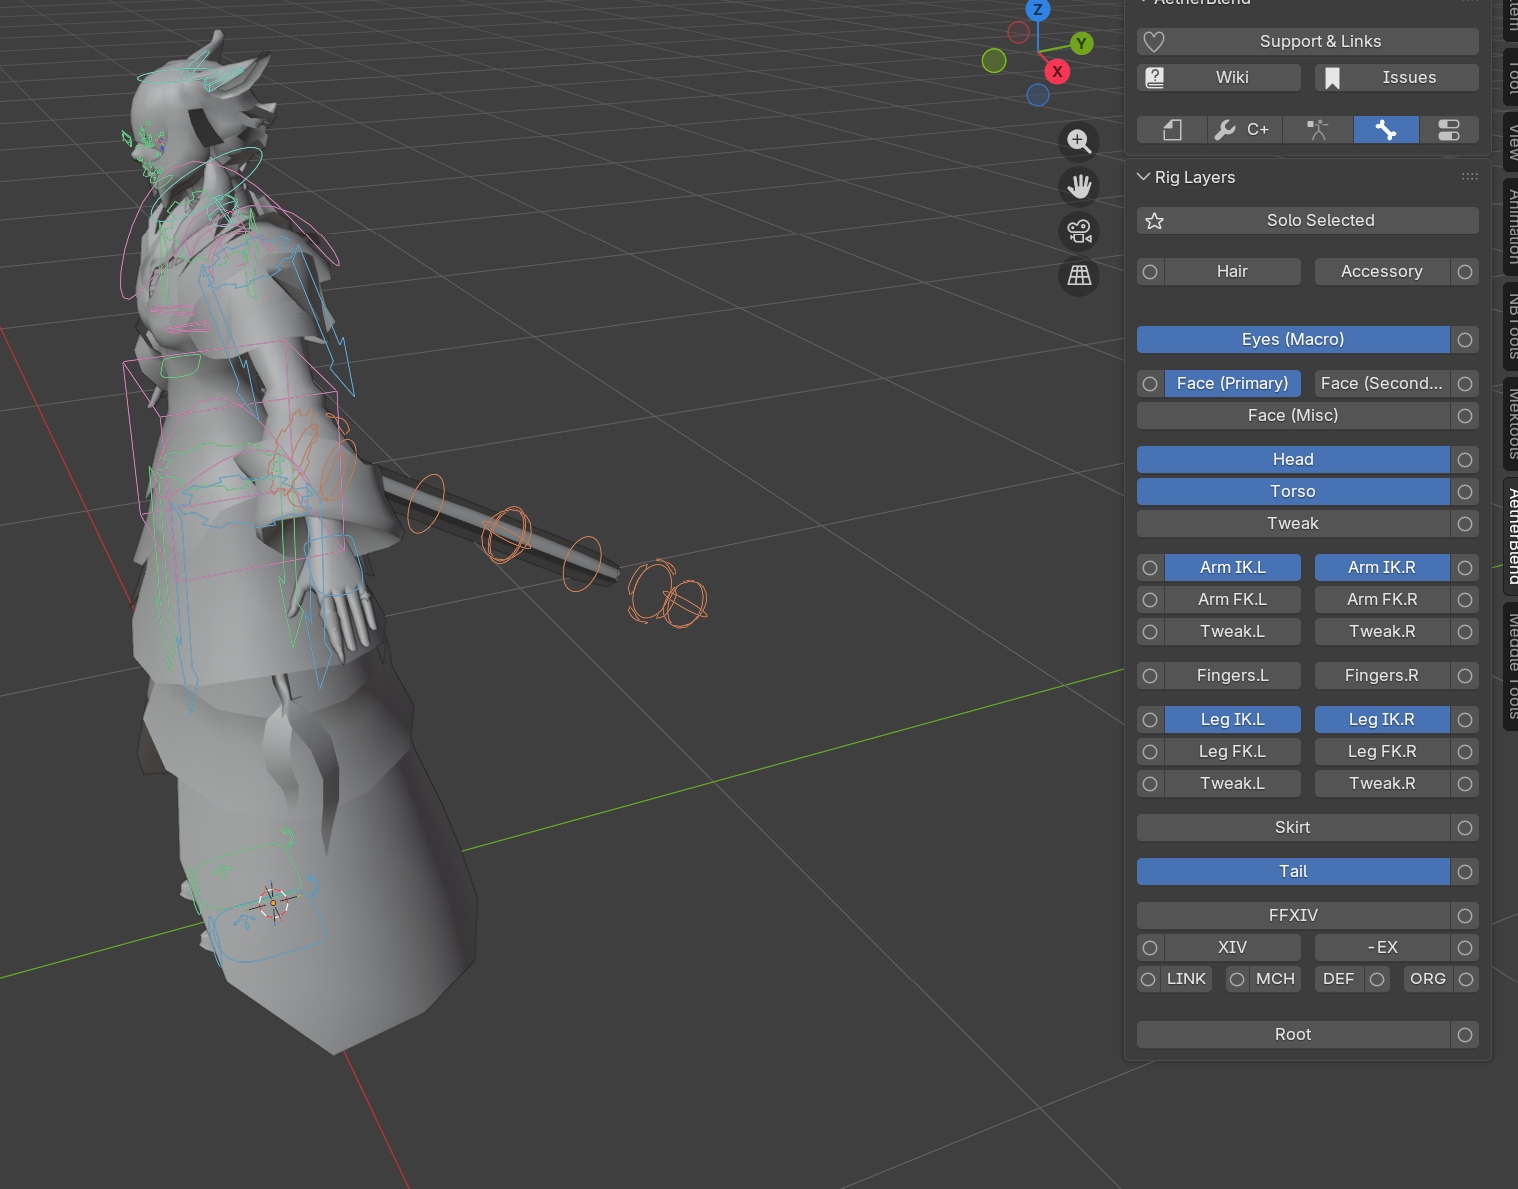
After the rig is generated, Blender should default to “Pose Mode”, which enables you to pose the rig you have selected. You can show/hide groups of bones to the right.
Click on this button to enable the colored view mode!
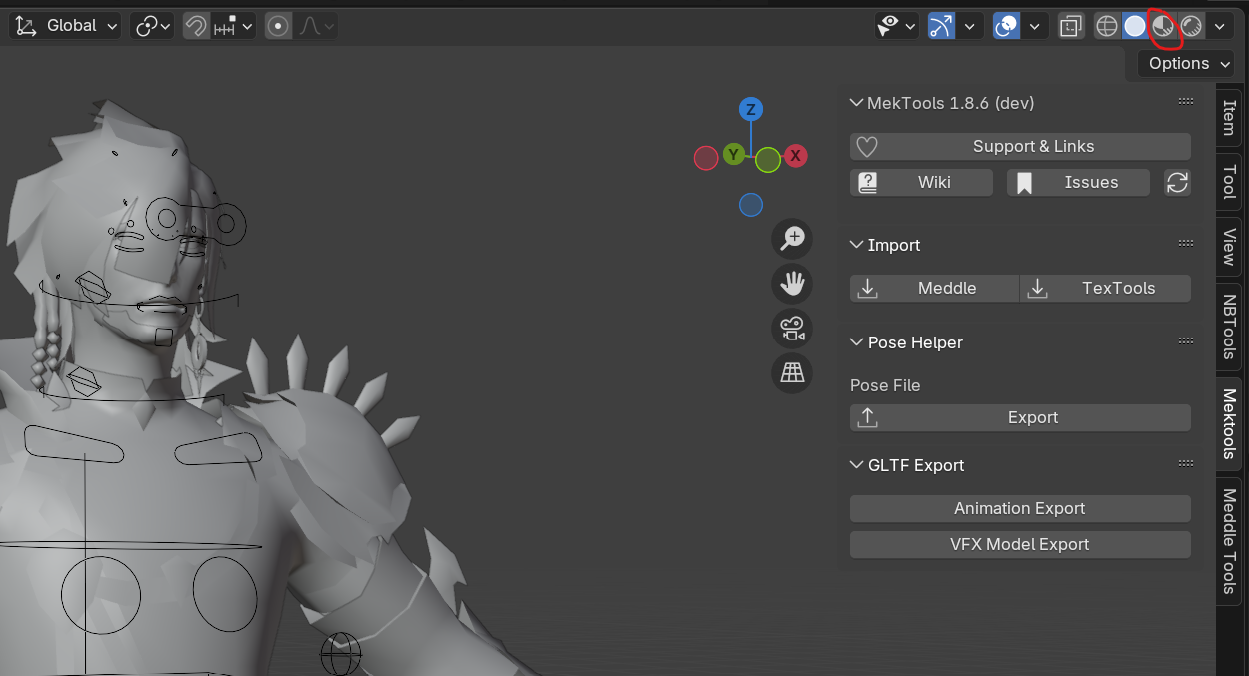
You now, in essence, have a full on character model ready for you to start posing! Now, you just have to learn how to do it!
As for questions like:
- “How do I actually move the parts of the model?”
- “How do I create other objects and manipulate them?”
- “How do I begin animating?” & more?
Well, now we are getting into “How to use Blender”! That is what this next section, “Blender Basics” will cover!
Bringing a character to life is what the animation art form is all about! With study and practice, you’ll be having your character go from this:
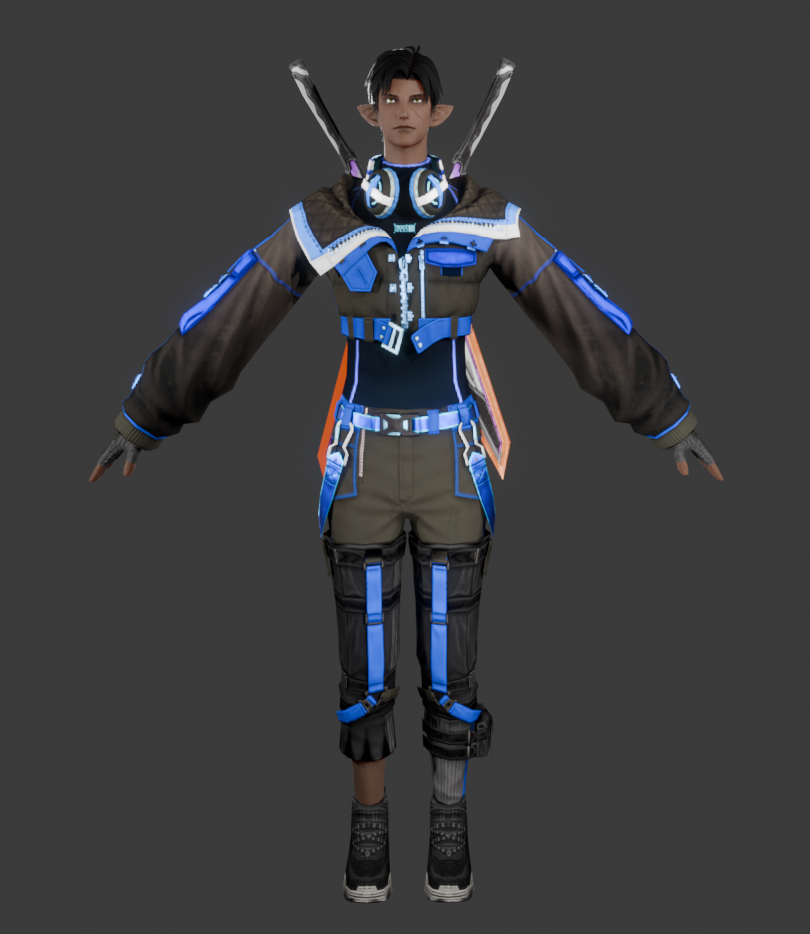
to this!
If you’re brand new to Blender, continue on to Blender Basics!